tila bead bracelet instructions
Discover the world of tila bead bracelets with our comprehensive guide, featuring
expert tips
and tricks for creating stunning jewelry pieces using beautiful glass beads and elastic cord materials always․
What are Tila Bead Bracelets
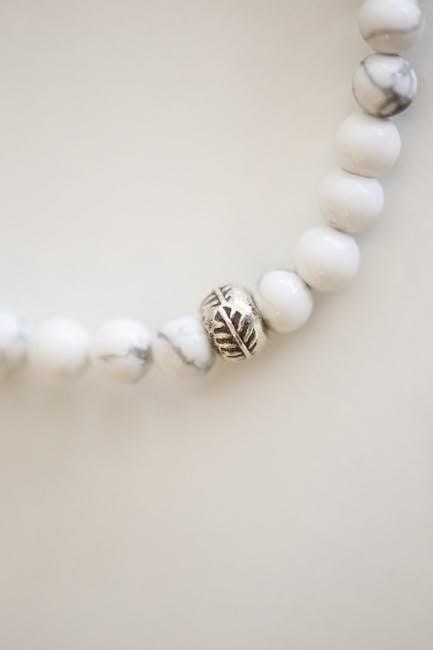
Tila bead bracelets are a type of jewelry made from small square and rectangular glass beads, known as Miyuki Tila beads, which come in a wide variety of colors and patterns․ These beads are often used to create unique and stylish bracelets that can be worn on their own or paired with other jewelry pieces․ The use of elastic cord as the base material allows for a comfortable and flexible fit, making tila bead bracelets a popular choice for everyday wear․ With their versatility and endless color combinations, tila bead bracelets have become a favorite among jewelry makers and enthusiasts alike․ The process of creating these bracelets involves threading the beads onto the elastic cord, which can be a fun and creative activity․ By following a few simple steps, anyone can create their own beautiful tila bead bracelet, making it a great hobby or DIY project․

Materials Needed
Gather necessary items including elastic cord, Miyuki Tila beads, and other jewelry making tools always available online․
Required Materials
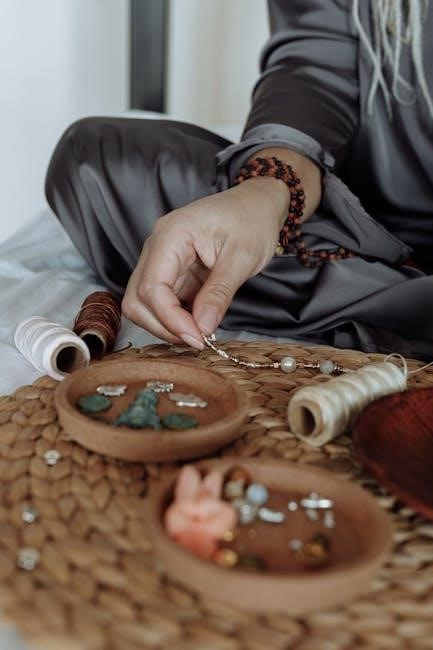
To create a beautiful tila bead bracelet, you will need a few essential materials, including elastic cord, Miyuki Tila beads, and a few basic jewelry making tools․ The elastic cord should be long enough to wrap around your wrist comfortably, with a little extra length for tying a knot․ Miyuki Tila beads are available in a wide range of colors and styles, so you can choose the ones that fit your personal taste and preferences․ In addition to these materials, you may also want to have some scissors, a needle, and a few other basic tools on hand․ With these materials, you can create a unique and stylish tila bead bracelet that reflects your individuality and sense of style․ You can find all of these materials at most craft stores or online retailers, making it easy to get started on your project․ The right materials will help you achieve professional-looking results․
Step-by-Step Instructions
Follow our easy guide with detailed
steps
to create a beautiful tila bead bracelet always using elastic cord and glass beads perfectly․
Starting the Bracelet
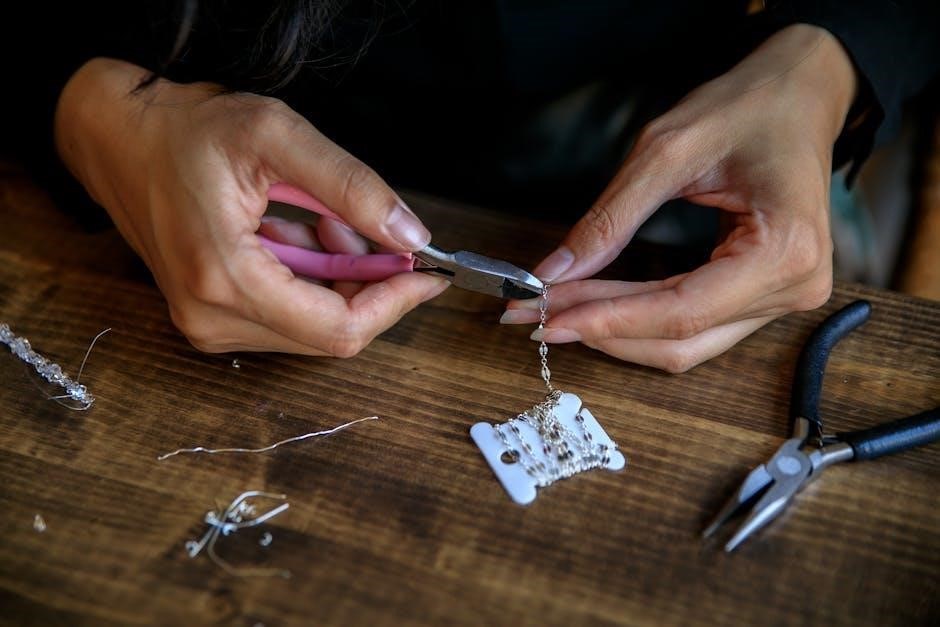
To begin making a tila bead bracelet, you will need to start by cutting two pieces of elastic cord, each approximately 15 inches long, this will give you enough length to work with and tie a secure knot․
Using a pair of scissors, carefully cut the elastic cord, making sure it is straight and even, this is important as it will affect the overall appearance of the finished bracelet․
Next, you will need to tie a knot at one end of the cords, this will act as a stopper and prevent the beads from falling off, you can use a simple knot or a more intricate one, depending on your preference․
It is also a good idea to add a small dot of clear nail polish or glue to the knot, this will help to secure it in place and prevent it from coming undone․
By following these simple steps, you will be able to start making your own unique and beautiful tila bead bracelet, with a variety of colors and patterns to choose from, the possibilities are endless․
With the cord prepared, you can now start threading the tila beads onto the elastic cord, this is where the creative fun begins․
Adding Beads
Thread tila beads onto elastic cord with ease using a beading needle and follow a pattern or design of your choice always using beautiful glass beads materials․
Stringing the Beads
To start stringing the beads, you will need to thread the elastic cord through the first bead, pulling it gently to create a small knot․ This will help secure the bead in place and prevent it from falling off․ Next, you can begin threading the remaining beads onto the cord, following your desired pattern or design․ It is essential to handle the beads with care, as they can be delicate and prone to breakage․ Using a beading needle can make it easier to thread the beads, especially if you are using a intricate pattern․ As you string the beads, you can gently pull the cord to tighten the beads and create a comfortable fit․ With a little patience and practice, you can create a beautiful and unique tila bead bracelet that showcases your personal style and creativity, using various colors and patterns of glass beads․
Finishing the Bracelet
Complete your tila bead bracelet with a secure knot and a dot of clear nail polish for a professional finish always using quality materials and techniques․
Tying the Knot
To finish your tila bead bracelet, you will need to tie a secure knot to keep the beads in place․ This can be done by crossing the two ends of the elastic cord over each other and then wrapping them around each other to form a knot․ You can use a needle to help guide the cord and tighten the knot․ It is also a good idea to add a dot of clear nail polish to the knot to keep it from coming undone․ This will help to secure the knot and prevent the beads from falling off․ By following these steps, you can create a beautiful and durable tila bead bracelet that you can wear and enjoy; With a little practice, you can master the technique of tying the knot and create a professional-looking finish for your bracelet․ The result will be a beautiful piece of jewelry that you can treasure․