
pfister shower valve installation instructions
Pfister shower valve installation requires planning and knowledge of plumbing systems using h2 tags for headings and p tags for paragraphs to ensure successful installation processes every time always.
Overview of the Installation Process
The installation process for a Pfister shower valve involves several key steps, including preparing the area, shutting off the water supply, and disconnecting the old valve. Using a variety of tools such as a hex wrench and adjustable wrench, the new valve can be installed and connected to the shower arm and spout. The process typically requires a moderate level of plumbing knowledge and can be completed with basic tools. It is essential to follow the manufacturer’s instructions and take necessary safety precautions to avoid any damage or injury. The installation process may vary depending on the specific model and type of Pfister shower valve being installed. Understanding the overall process and requirements can help ensure a successful and efficient installation. Additionally, consulting online resources and manufacturer’s guides can provide further guidance and support. The process can be complex, but with patience and attention to detail, it can be completed successfully.

Preparation for Installation
Prepare the area by shutting off water supply using a p tag for paragraph text always.
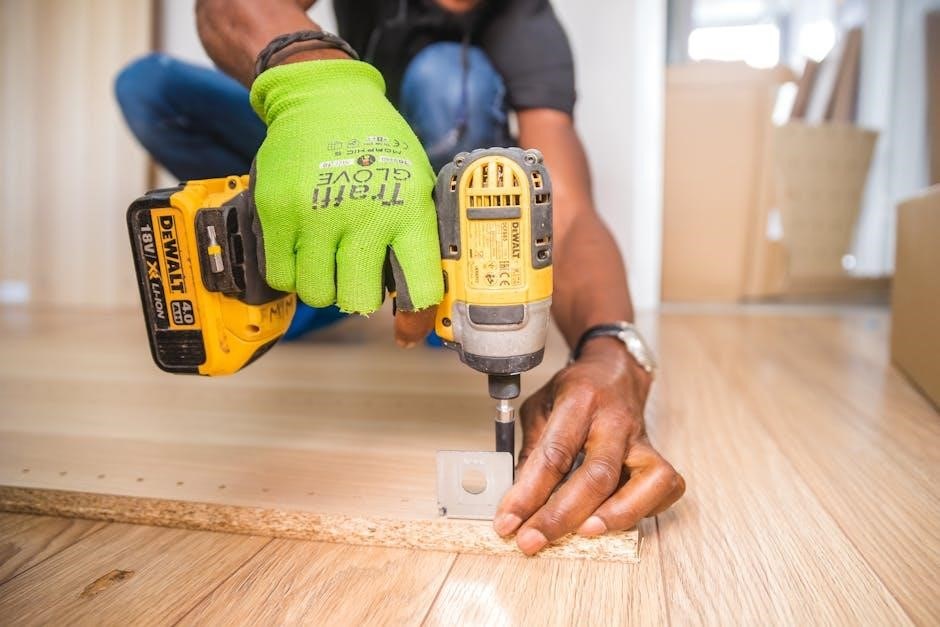
Required Tools for the Installation
To install a Pfister shower valve, certain tools are necessary, including a hex wrench, Phillips screwdriver, and adjustable wrench. These tools will help with tasks such as removing old fixtures and installing new ones.
Using the right tools ensures a successful installation process and prevents damage to the valve or surrounding areas.
The installation manual provides a list of required tools, which may vary depending on the specific model and type of valve being installed.
It is essential to have all the necessary tools before starting the installation process to avoid delays or complications.
Additionally, having a bucket or container to catch water and a towel to dry the area can be helpful.
The tools required for installation are typically readily available at most hardware stores or home improvement centers.
It is crucial to follow the manufacturer’s instructions and use the recommended tools to ensure a proper and safe installation.
Pfister provides detailed instructions and recommendations for the tools needed for a successful installation.
The right tools and a bit of planning can make the installation process much smoother and less stressful.
By having all the necessary tools and following the instructions, you can ensure a successful installation and enjoy your new Pfister shower valve.
Understanding the Pfister Shower Valve Components
Valve and Cartridge Overview
Step-by-Step Installation Instructions
Connecting the Shower Arm and Spout
To connect the shower arm and spout, ensure you have the necessary tools, including a hex wrench and Teflon tape, using ol and ul tags for listing materials. Next, attach the spout to the shower arm, ensuring a watertight seal by applying Teflon tape to the threaded connections, and refer to the Pfister installation manual for specific instructions.
It is essential to follow the manufacturer’s guidelines for connecting the shower arm and spout to avoid leaks and ensure proper function, using p tags for clear paragraphs.Proper connection of these components is vital for a functional and leak-free shower system, so take your time and ensure all connections are secure, using html tags for clarity and organization.

Troubleshooting Common Issues
General Information for Common Faucet Types
